1、Download X2-Lightning. ipa through:
Enter https://api.lemonjoys.com/download/X2-Lightning.ipa in the URL bar and it will start downloading automatically.
This IPA file can also be used for future re-signing if there is no update version, without downloading again.
2、Download i4Tools through https://www.i4.cn
After launching it and connecting your iPhone or iPad to your computer via a data cable, click Trust and enter your password.
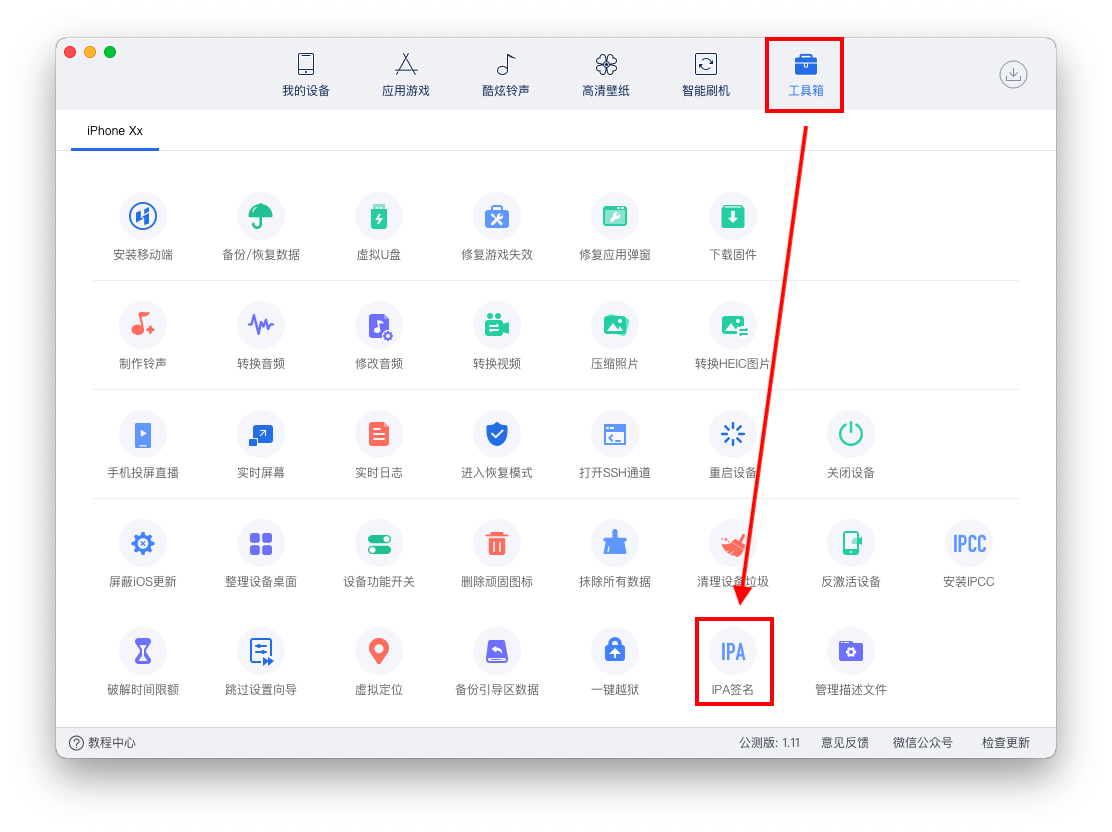
3.Select Toolbox, then click IPA Signature.
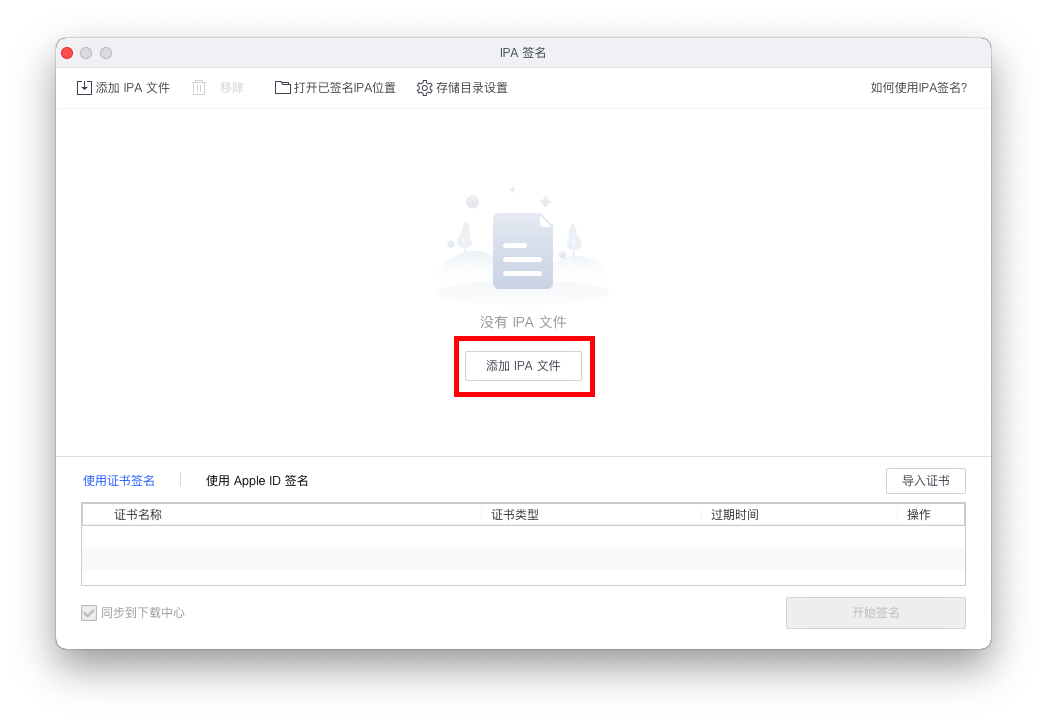
4.Click Add IPA files, select the IPA file downloaded, then click Open.
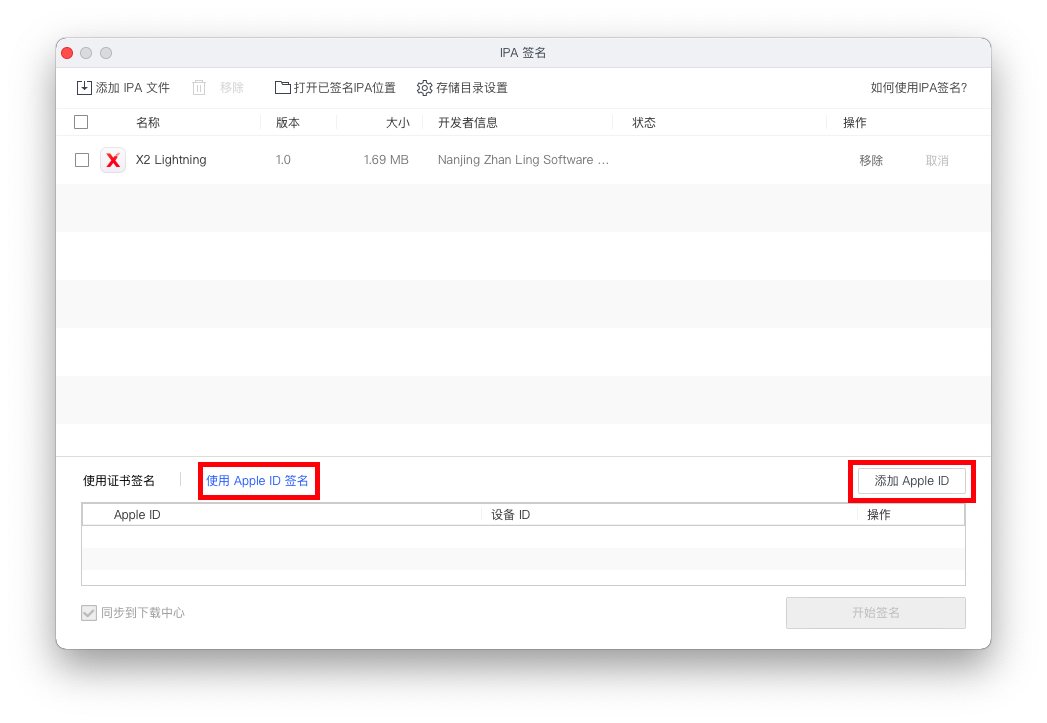
5.Select Sign with Apple ID, then click Add Apple ID.
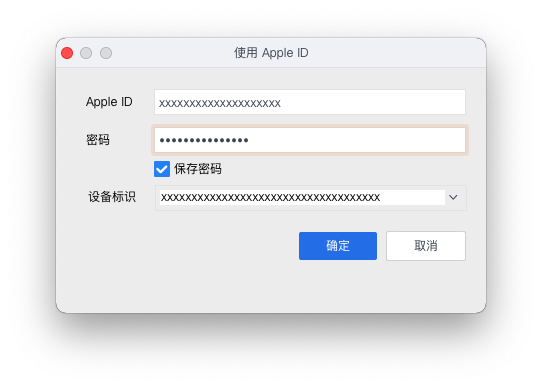
6.Enter your Apple ID and password, choose Save Password and click Confirm.
It’s suggested to register a new Apple ID through https://appleid.apple.com/
Then use the newly registered Apple ID to set up iCloud on your iPhone or iPad.
After logging into iCloud and disabling all synchronizations, then change back to your usual Apple ID after finished signing.
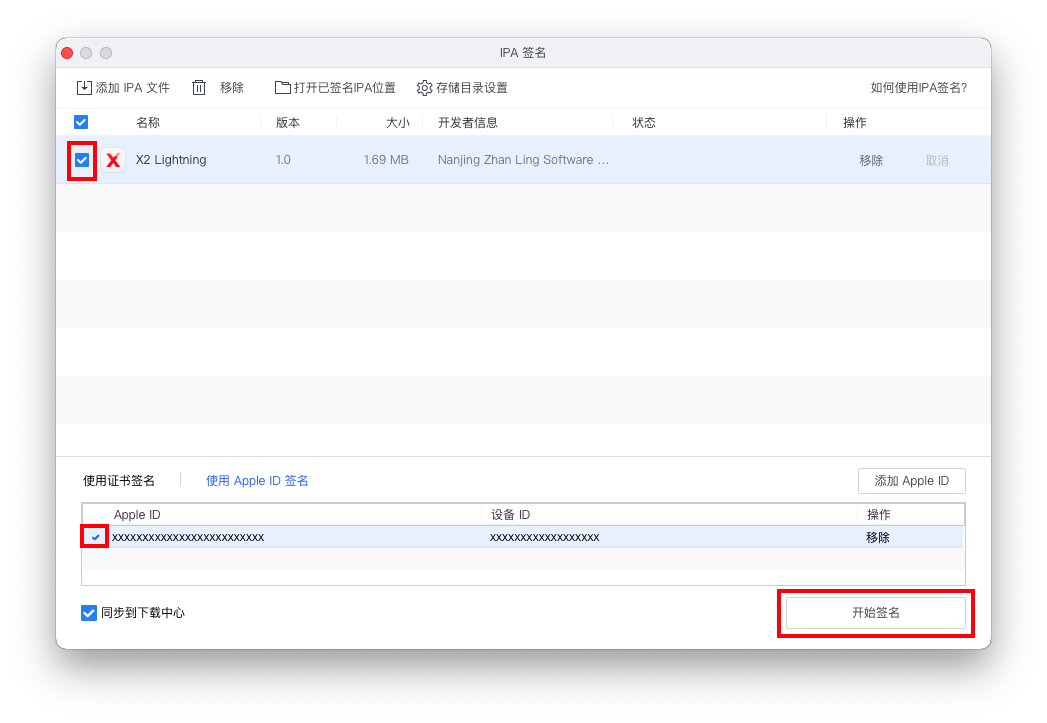
7.Select the added IPA file, click Apple ID, then choose Start Signing.
During signing, you may be asked to enter the verification code if your Apple ID is using two-factor authentication.
Any other questions, pls check https://m.i4.cn/article/40956.html
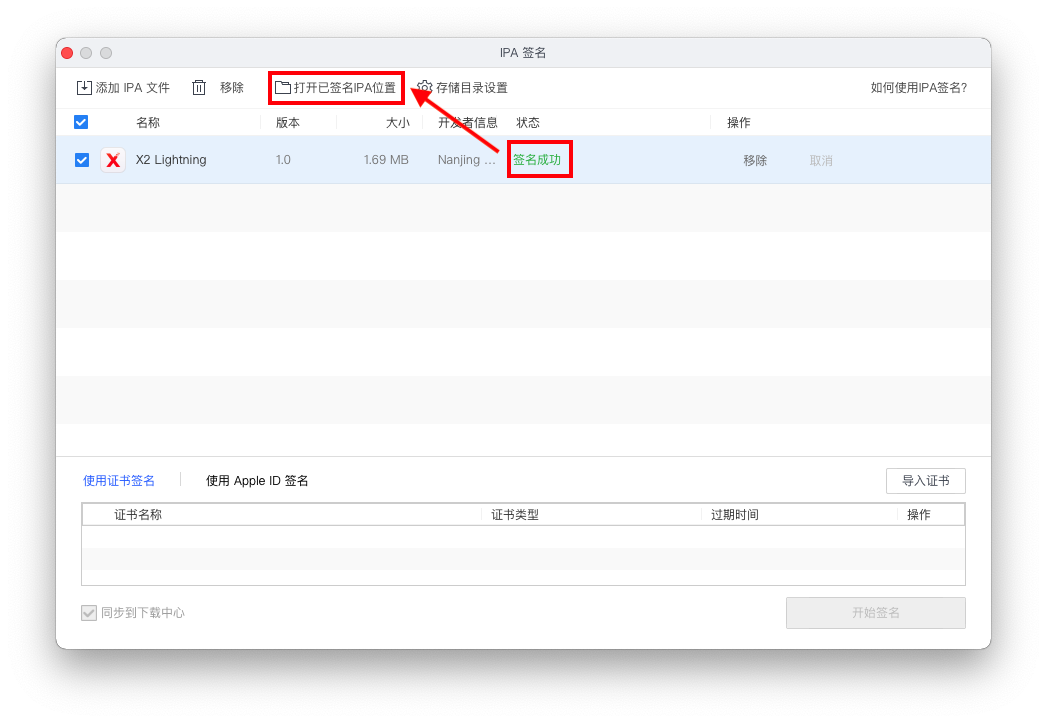
8.After signing success, click Open the signed IPA location.
During signing, you may be asked to enter the verification code if your Apple ID is using two-factor authentication.
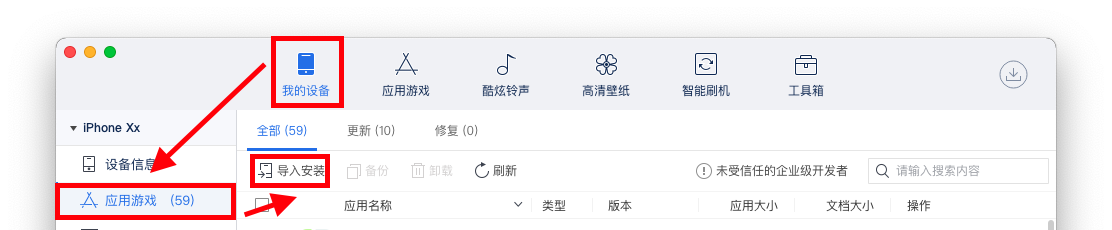
Locate the signed IPA and install it to the connected iPhone or iPad.
9.Trust the App.
On your iphone or iPad, tap Settings > General > Profiles or Profiles & Device Management > Enterprise App.
Select xxxx (Apple ID) and click Trust xxxx.
Then you can open X2 Lightning App.
Note: If you fail to open the App later, you need to redo as above.